How to Install Oracle VirtualBox 5.1 on Ubuntu 17.04 & 16.04 and Debian 8/7
-----------------------------
MACOS VIRTUALBOX VM ON UBUNTU
STEP 1: DOWNLOAD THE SIERRA INSTALLER FROM MAC APP STORE.
This should be done in you Mac and the installer will be placed in
/Application/ folder.STEP 2: PREPARE SIERRA ISO
Use geerlingguy’s script to prepare a sierra iso file.
git clone https://github.com/geerlingguy/macos-virtualbox-vm.git
cd macos-virtualbox-vm
chmod +x prepare-iso.sh
./prepare-iso.sh /Applications/Install\ macOS Sierra.app /Users/suzy/sierra.iso
STEP3: INSTALL VIRTUALBOX IN UBUNTU
You should have your VirtualBox and the Extension Pack installed, or use my ansible role
STEP 4: OPEN VIRTUALBOX AND CREATE A NEW VM.
Settings:
- name: your_sierra_vm_name
- type: Osx
- version: Mac OS X 10.11 El Capitan (64-bit)
- Other
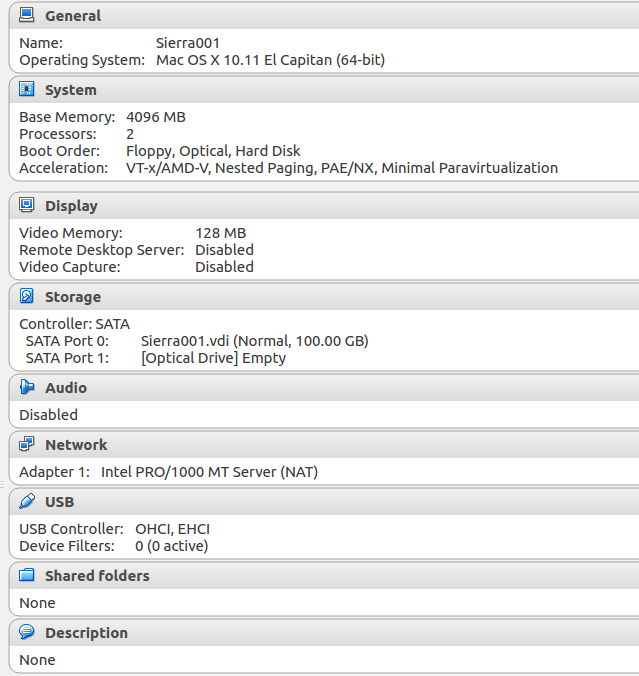
STEP5: CONFIGURE VM FOR MACOS (VERY IMPORTANT!)
Run following commands and replace “Sierra” with ‘your_sierra_vm_name’.
VBoxManage modifyvm Sierra  --cpuidset 00000001 000306a9 00020800 80000201 178bfbff
VBoxManage setextradata "Sierra" "VBoxInternal/Devices/efi/0/Config/DmiSystemProduct" "iMac11,3"
VBoxManage setextradata "Sierra" "VBoxInternal/Devices/efi/0/Config/DmiSystemVersion" "1.0"
VBoxManage setextradata "Sierra" "VBoxInternal/Devices/efi/0/Config/DmiBoardProduct" "Iloveapple"
VBoxManage setextradata "Sierra" "VBoxInternal/Devices/smc/0/Config/DeviceKey" "ourhardworkbythesewordsguardedpleasedontsteal(c)AppleComputerInc"
VBoxManage setextradata "Sierra" "VBoxInternal/Devices/smc/0/Config/GetKeyFromRealSMC" 1
STEP 6: INSTALL SIERRA
Insert
sierra.iso to the sierra VM’s optical driver, and follow the instruction to install Sierra.
Note: In the installer, Go to Utilities > Disk Utility. Select the VirtualBox disk and choose Erase to format it as a Mac OS Extended (Journaled) drive.
STEP 7: REMOVE SIERRA.ISO AND RESTART VM.
Oracle VirtualBox 5.1.20 has been released on Apr 18, 2017. Oracle VirtualBox 5.1.14 is the maintenance release of VirtualBox 5.1 which improves stability and fixes regression. See the ChangeLog for more details.
This article will help you to install Oracle VirtualBox on your Ubuntu 17.04, 16.10, 16.04 LTS, 14.04 LTS, 12.04 LTS and Debian 8/7 systems.
Step 1: Setup Apt Repository
Firstly edit /etc/apt/sources.list file and add one of the following lines according to your distribution to your system. You can find your system distribution codename using “lsb_release -c” command from a terminal.
Step 2: Setup Oracle public key
After adding required apt repository in your system, download and import the Oracle public key for apt-secure using following commands.
Step 3: Install Oracle VirtualBox
After completing above steps, let’s install VirtualBox using following commands. If you have already installed any older version of VirtualBox, Below command will update it automatically.
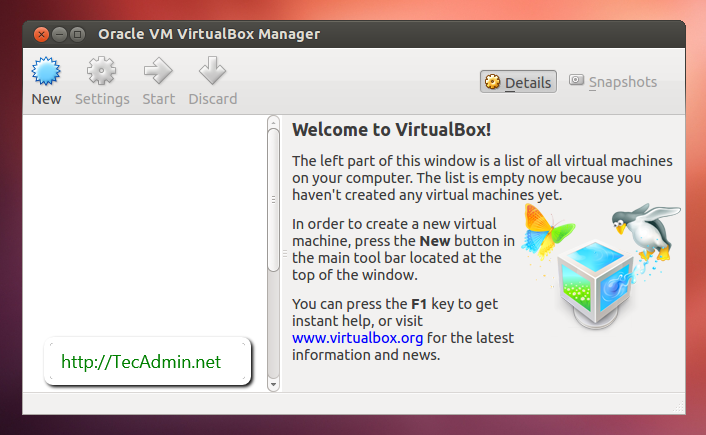
Step 4: Start VirtualBox
We can use dashboard shortcuts to start VirtualBox or simply run following command from a terminal.


Comments
Post a Comment